10 Tips for Buying Venetian Blinds
Choosing venetian blinds is not just a matter of matching slats to a paint color. The right choice depends on how a room faces the sun, how much privacy it needs, and whether the window frame can accommodate the blind. Small details matter. A deep recess, a nearby handle, or a radiator beneath the sill can affect both fit and everyday use. Measure carefully, and check the product’s fitting instructions before ordering. It sounds obvious. It is easy to overlook.
There is also a practical energy question. The U.S. Department of Energy’s Energy Saver guidance estimates that heat gain and heat loss through windows account for about 25%–30% of residential heating and cooling energy use. That figure describes windows overall; it does not promise that any particular blind will deliver the same savings. Still, it explains why slat direction, coverage, and operating habits deserve attention. Material matters, too: aluminum, wood, and faux wood differ in weight, appearance, and care requirements. In the guide ahead, these ten buying tips examine measurements, slat size, light control, privacy, durability, installation, and budget. Compare specifications, not just product photos. A polished listing can hide an unsuitable fit, and no single venetian blinds style works for every room. The decision may feel less tidy than expected. That is worth acknowledging before you buy.
Assess Your Room’s Light, Privacy, and Insulation Needs
Before measuring for Venetian blinds, watch how daylight moves through the room. Note whether glare hits a screen in the morning or heats a windowsill in late afternoon. South- and west-facing windows often need more control than shaded ones, but nearby buildings and trees matter too. Check the room at different hours. Light changes.
For privacy, consider both the window’s height and what people outside can see. Tilt the slats upward or downward and check the view from the street, not just from inside. Keep in mind that angled slats can soften visibility without creating complete privacy, especially when a room is lit after dark. Test at dusk. If privacy is essential, compare blinds with a separate curtain or shade.
Insulation needs depend on the window and climate. Blinds can reduce direct sun and create a modest air gap, but they will not seal a drafty frame. Wider, well-fitted slats may offer more coverage, while side gaps still let light and air through. Measure carefully, and check whether the blind will clear handles or trim. I once focused too much on color and missed how afternoon glare affected the room; it was an easy detail to overlook.
Compare Slat Materials, Widths, and Finishes
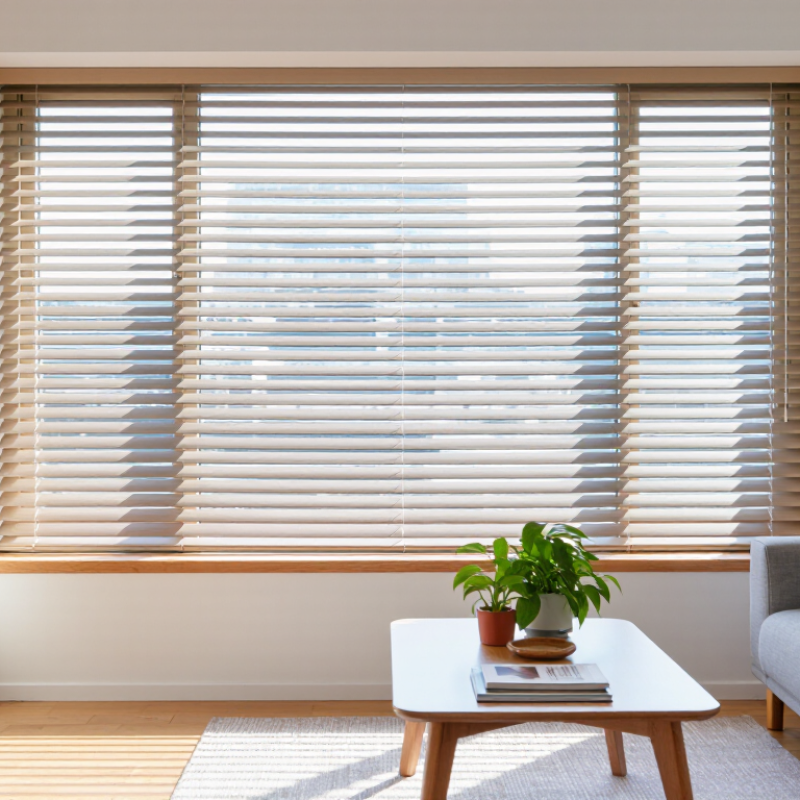
When comparing Venetian blinds, match the slat material to the room’s moisture, sunlight, and cleaning needs. Real wood has a warm, natural look and is relatively light, but prolonged dampness may cause it to warp. Faux wood often suits kitchens and bathrooms better, although wider slats can make the blind heavier. Aluminum is lightweight and easy to wipe clean, but dents may stay visible. Small differences matter.
Slat width affects both appearance and light control. Narrow slats create a finer pattern and fit compact windows well, but they require more pieces and can look busy across a large opening. Wider slats offer a clearer view when tilted and fewer horizontal lines. Check how much space the raised blind will occupy; a deep stack can partly cover the glass. I used to overlook that detail.
Finish changes how the blinds look throughout the day. Matte surfaces soften glare, while glossy finishes reflect more light and show fingerprints more readily. White can brighten a dim room, but it may look stark beside cream walls. Request a physical sample if possible, then view it near the window in morning and afternoon light. Even then, the final color may feel slightly different once installed.
Venetian Blind Slat Widths: A Quick Comparison
Common slat widths shown in millimeters (inches shown in the labels).
One-inch slats offer a finer, more compact look, while wider slats provide a broader view when tilted open. These are common options, not a universal standard. Material and finish also matter: aluminum is lightweight, while wood and faux wood create a warmer appearance; choose finishes to suit the room and its moisture conditions.
Check Operating Systems and Child-Safety Features
Tip:
Before choosing a Venetian blind, test how its operating system feels. Raise and lower a sample slowly, if one is available. A stiff tilt wand or awkward lift mechanism can become frustrating beside a kitchen sink or a high window. Cordless designs avoid loose operating cords, while motorized options may suit hard-to-reach windows. Check how each system works during a power cut, and read its care instructions. I used to focus on color first. That was not always practical.
Tip:
Child safety deserves a close look, especially in rooms where children play or sleep. Inspect the blind for accessible cords, loops, and small detachable parts. Ask how any supplied safety devices should be installed and used; a device helps only when fitted correctly. Keep furniture, such as a crib or chair, away from the window and its controls. Follow the product’s installation guidance, and recheck the setup after moving furniture.
Tip:
Compare the controls with your household’s routines, not just the price. A cordless blind still needs careful handling, and a motorized one may need charging or maintenance. Check the operating instructions before buying. The details can be easy to miss.
Review Costs, Installation, and Ongoing Care
Venetian blinds cost more than the slats you see on the shelf. Angi’s national installation cost guide places typical projects around $200–$1,200, with an average near $700. Treat that as a starting point, not a quote: window count, custom sizing, material, and labor can shift the bill. Ask whether measuring, old-blind removal, and hardware are included. A low estimate can leave out the fiddly parts.
Installation is where small errors become daily annoyances. Measure each window separately; older homes rarely offer perfectly matching openings. Inside-mounted blinds need enough frame depth, while outside mounts must cover the trim to limit light gaps. The U.S. Department of Energy estimates that heat gain and loss through windows accounts for 25%–30% of residential heating and cooling energy use. Blinds alone will not solve that loss, but adjustable slats can help manage glare and incoming sunlight. Check how the chosen material handles heat and moisture, especially near a sunny kitchen window.
Care affects the long-term cost, too. Dust collects along horizontal slats, so use a microfiber cloth or a soft brush attachment rather than soaking them. Test cleaners on a hidden area first; finishes can react differently. Check the tilt mechanism and brackets occasionally, before a loose part becomes a replacement. One detail is easy to miss: frequent cleaning may still leave dust in the cords and corners. That is not a perfect system, just a realistic maintenance trade-off.